Note: This guide was created using Android version 10.0.0 on a Google Pixel™ 3.
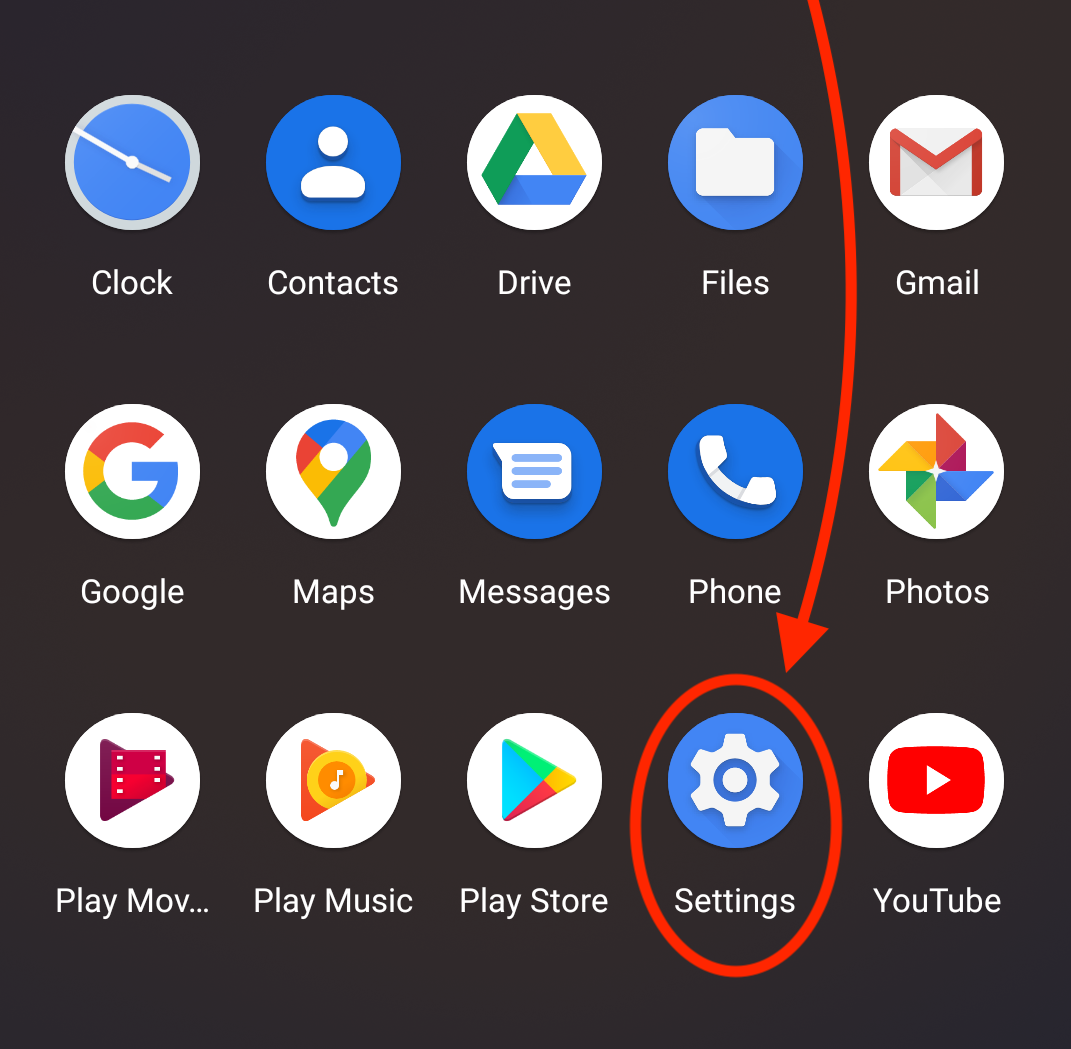
- Swipe up from the bottom of your device and tap the Settings icon.
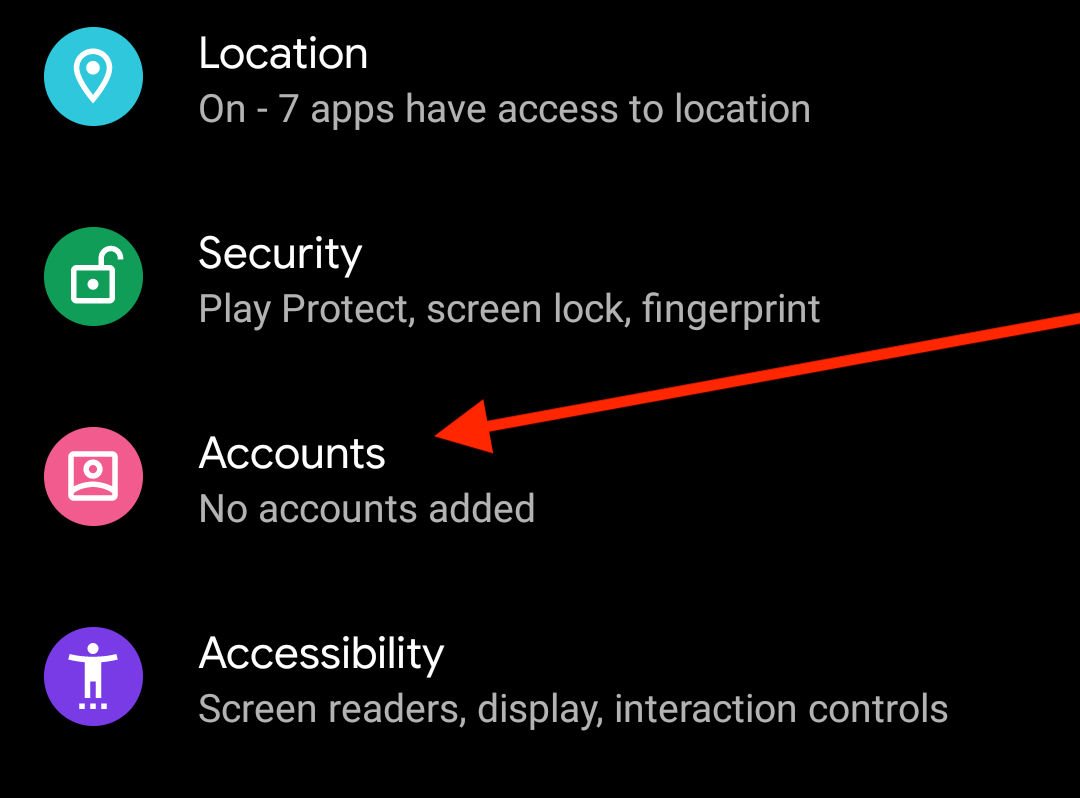
- In the Settings menu, tap on Accounts. The Accounts interface will appear.
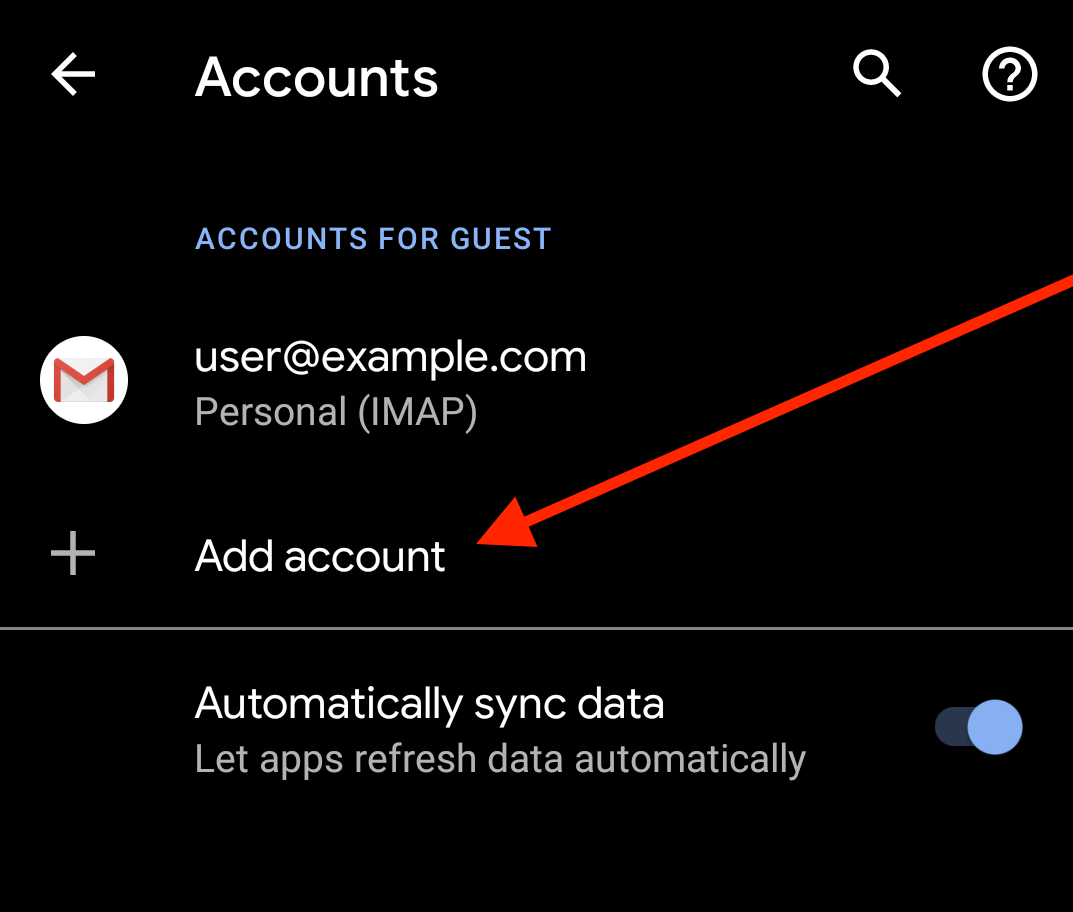
- Tap on Add Account. The Add an account interface will appear.
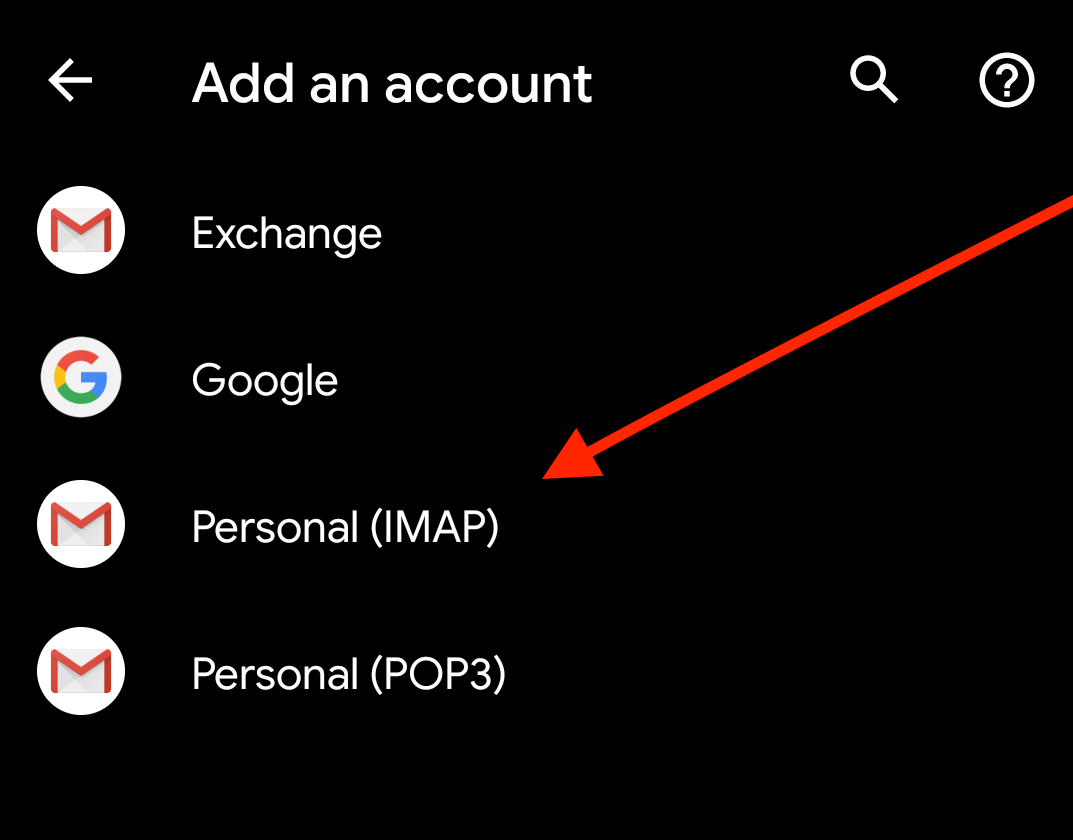
- In the Add an account interface, tap Personal (IMAP).
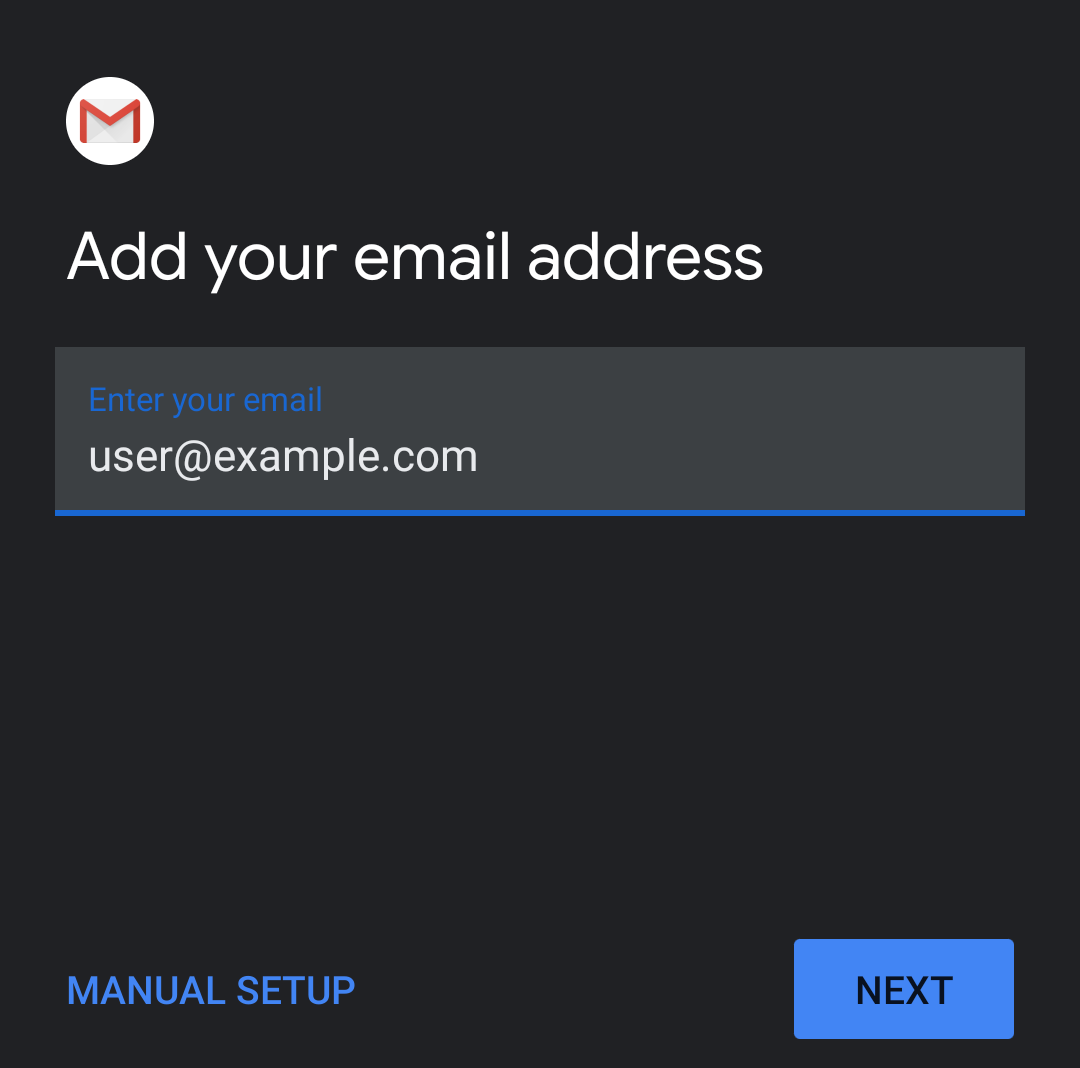
- In the Enter your email text box, enter your full email address. Tap Next.
- Enter your password in the Password text box. Tap Next. This will open the Incoming server settings Interface.
Note:
Tap the show password icon (
 ) to ensure that the password is correct.
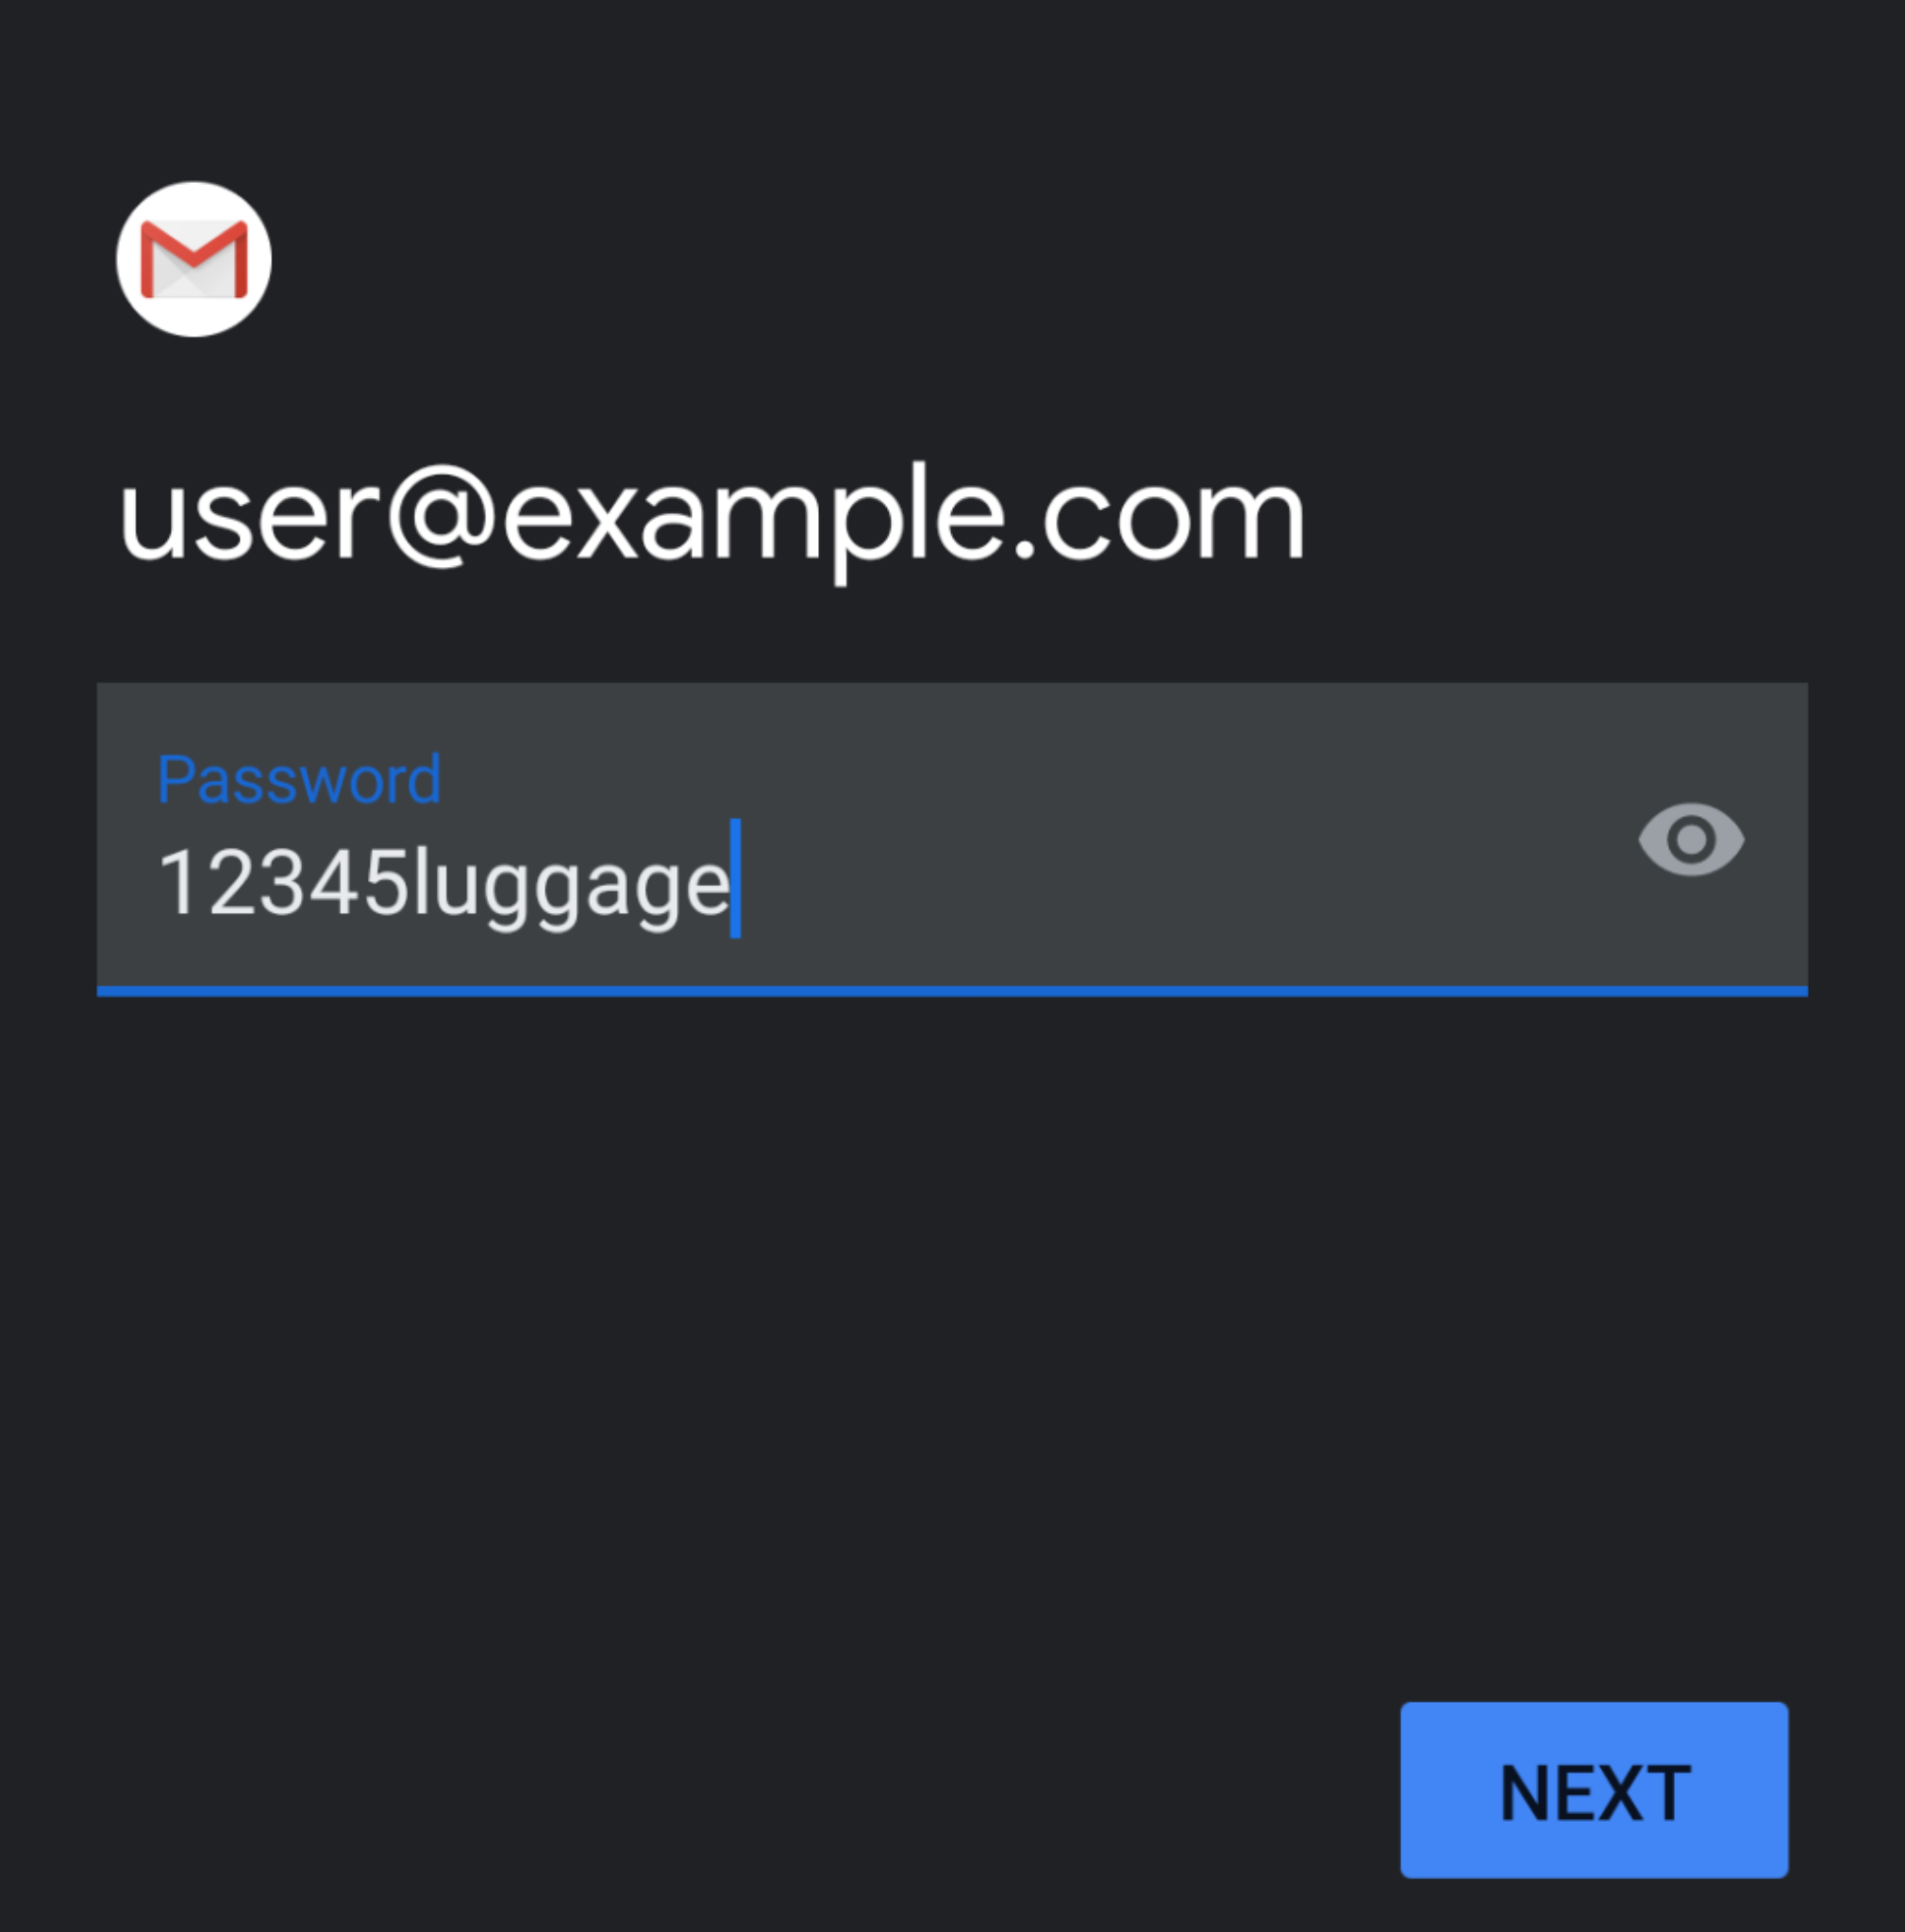
- Your Username and Password will be automatically filled with your previously entered information.
- In the Server text box, enter the host name information.
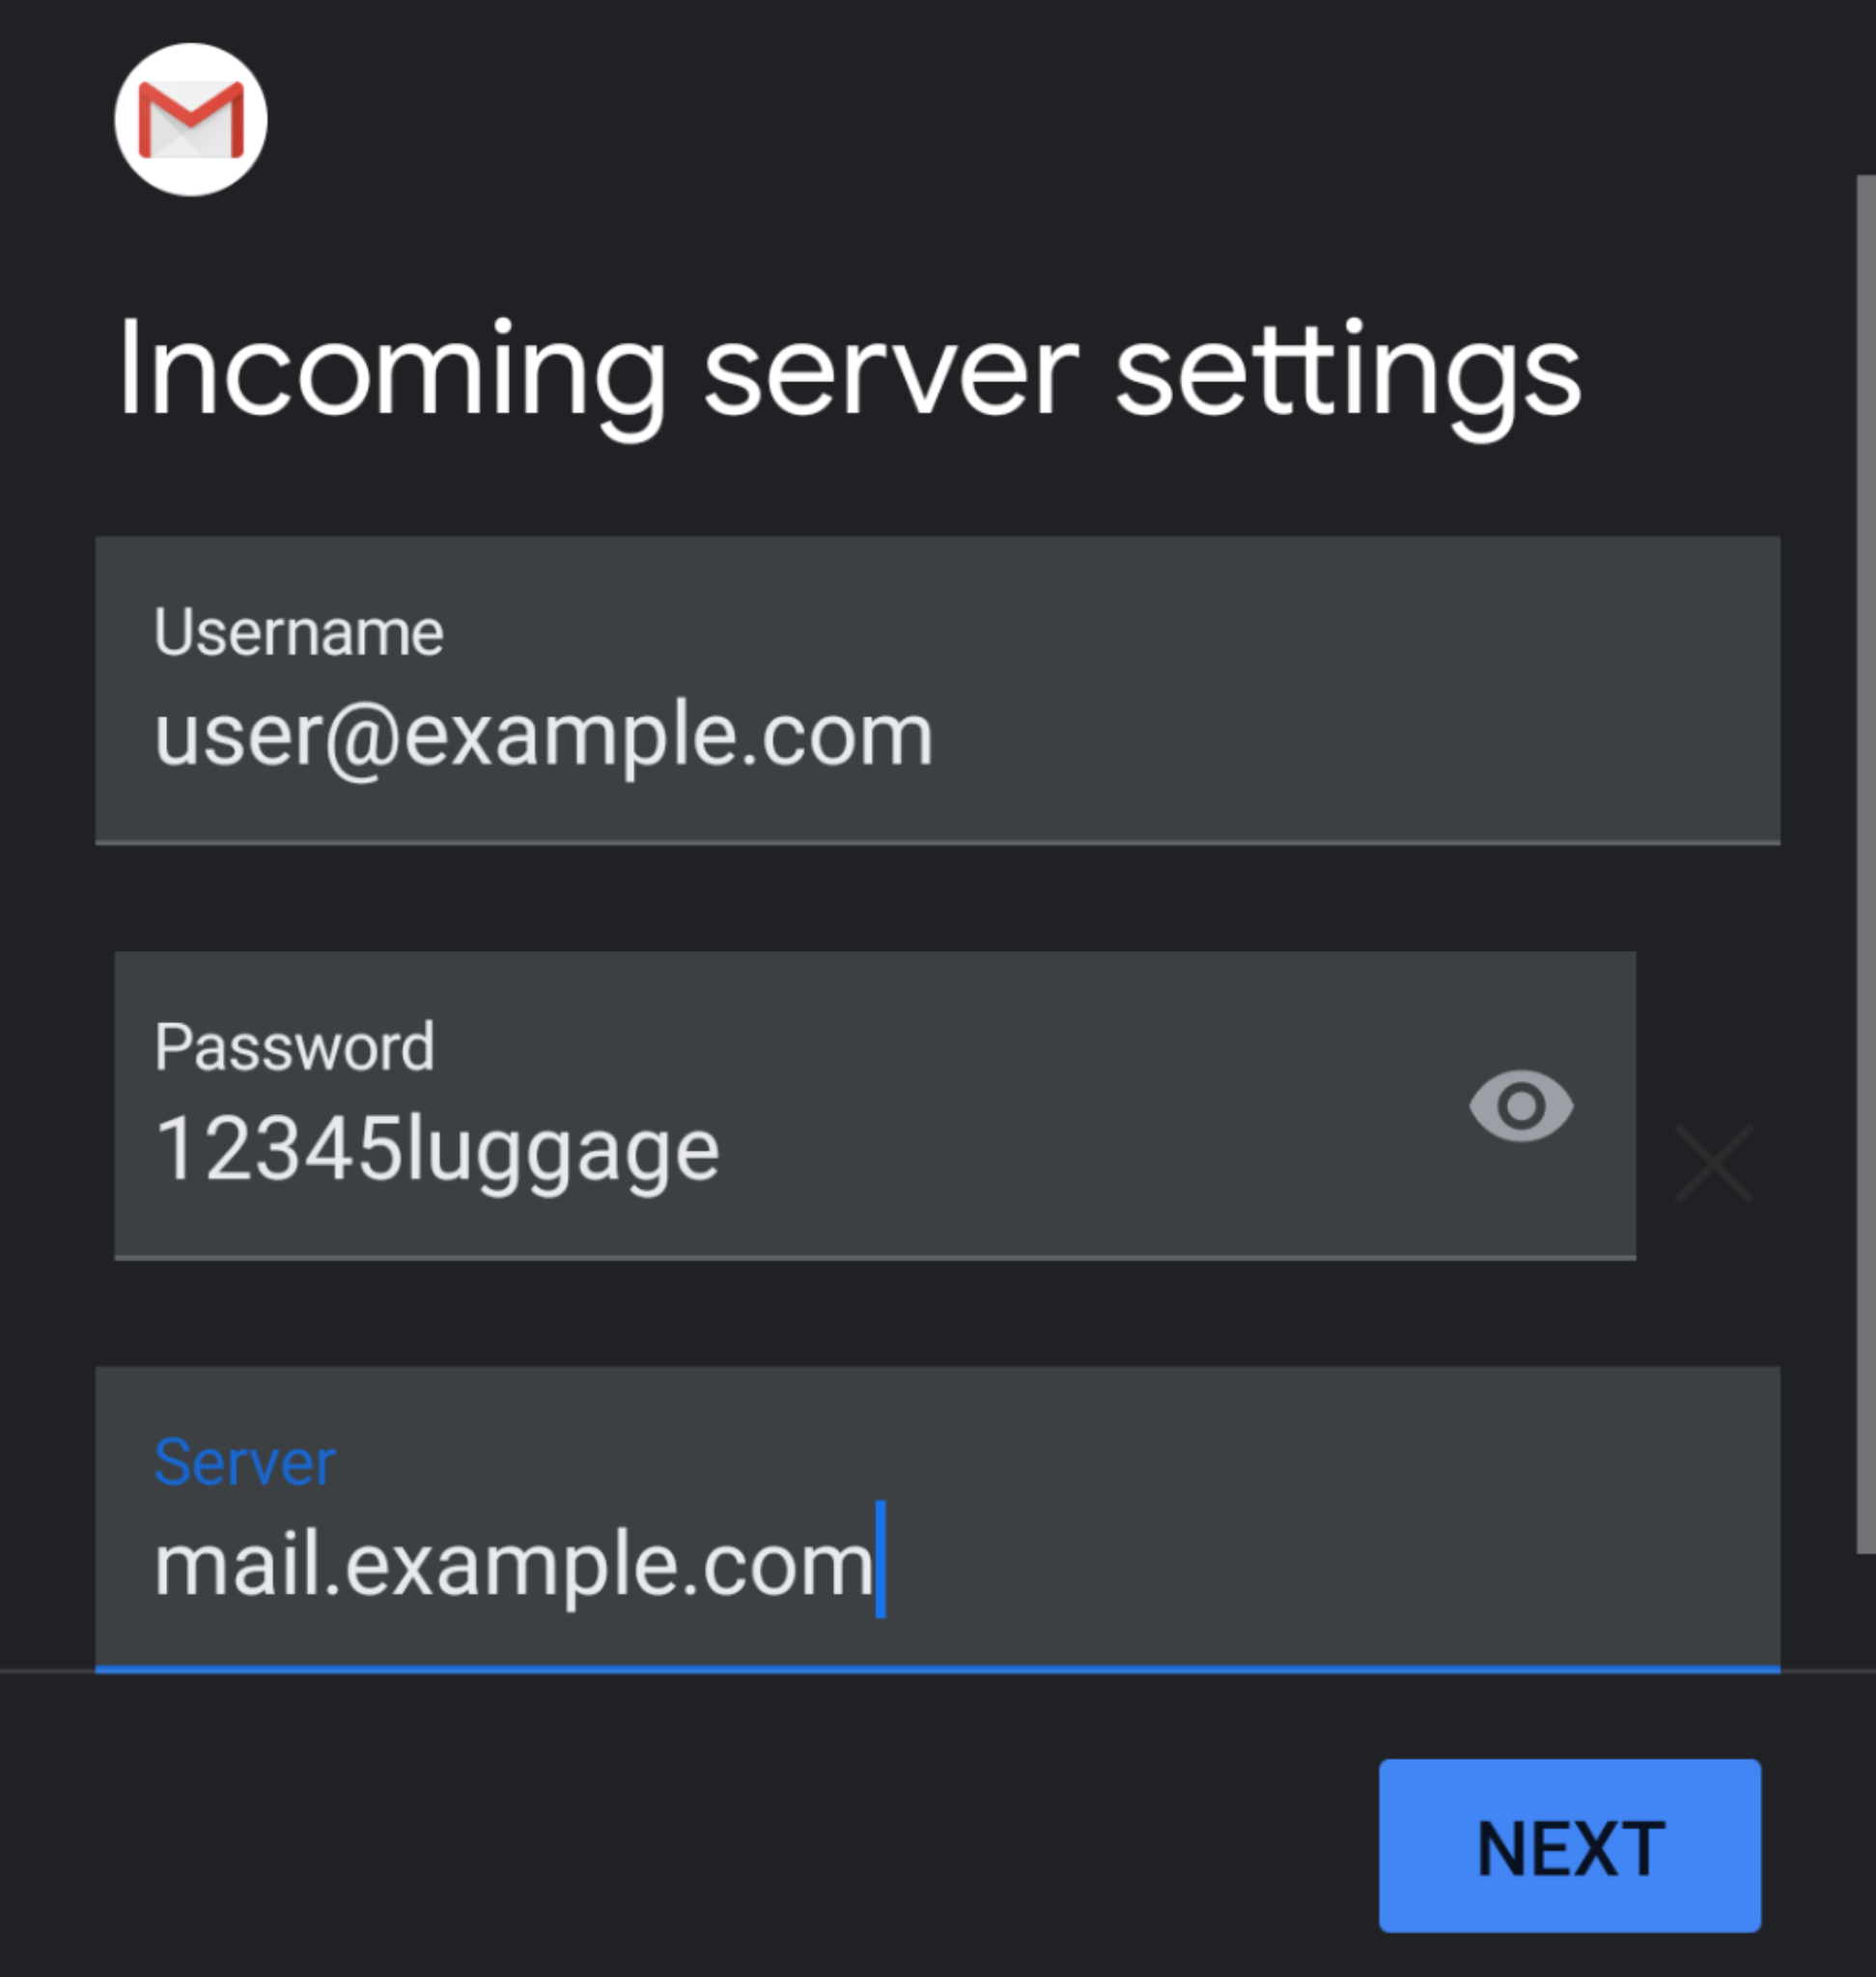
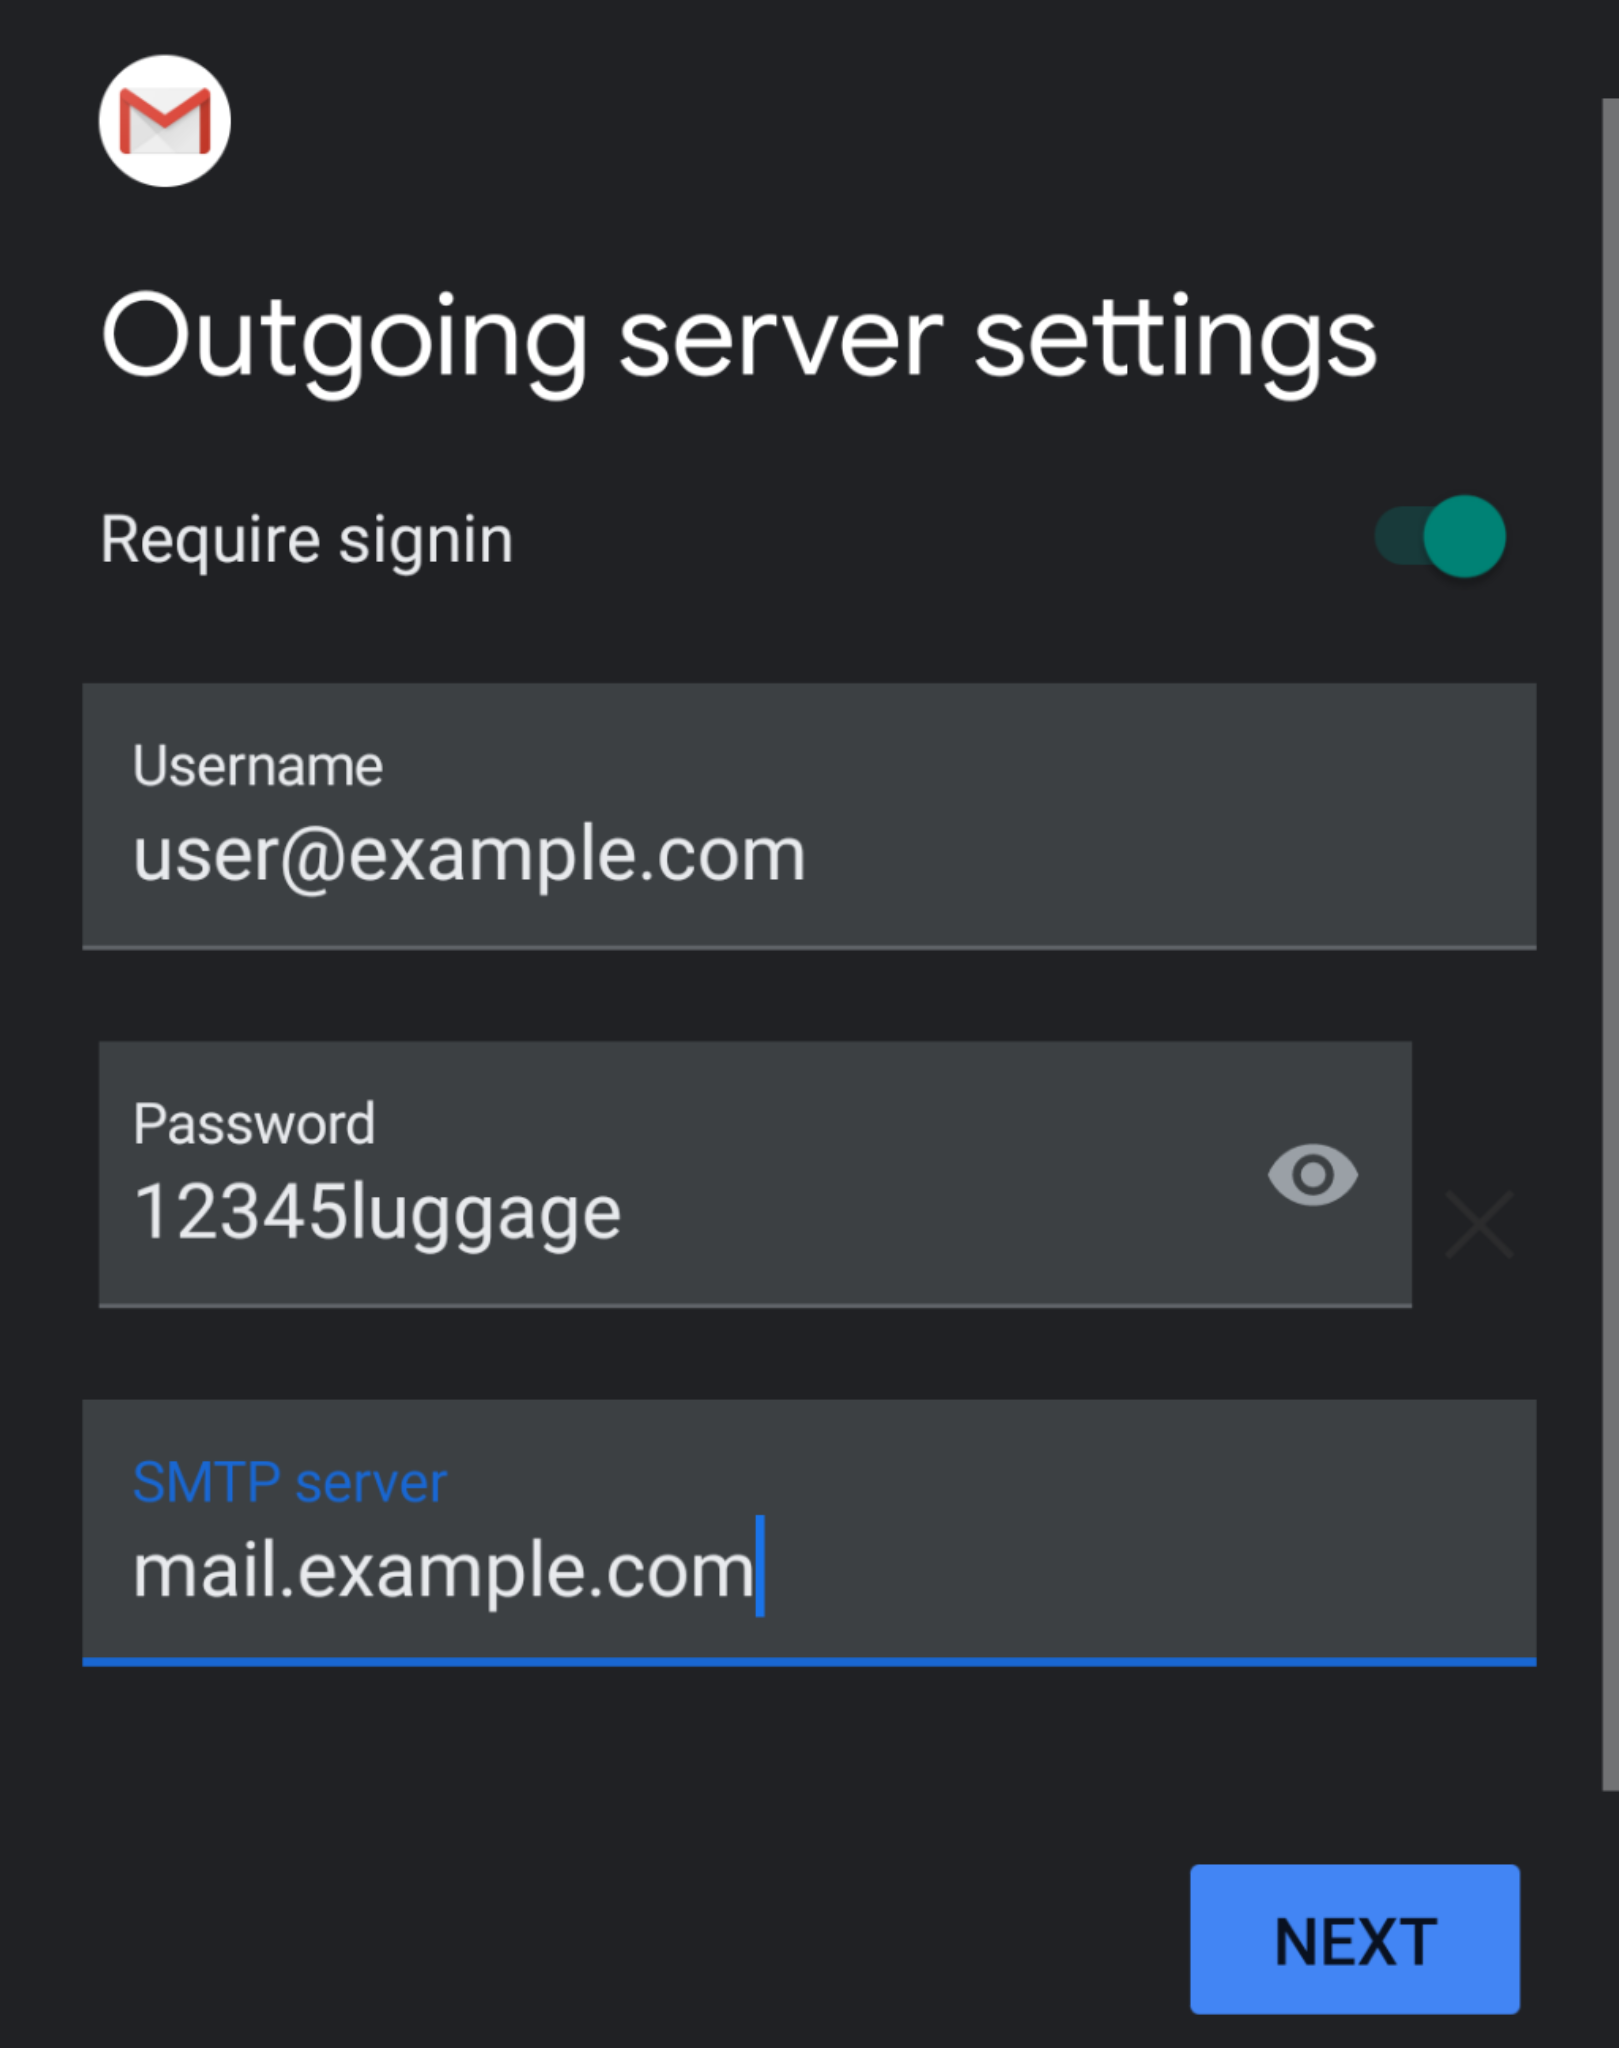
- Tap Next. The Outgoing server settings interface will appear.
- In the Server text box, enter the host name information.
- Your Username and Password will be automatically filled in with your previously entered information.
- In the Server text box, enter the host name information.
- Tap Next. The Account options interface will appear.
- In the Server text box, enter the host name information.
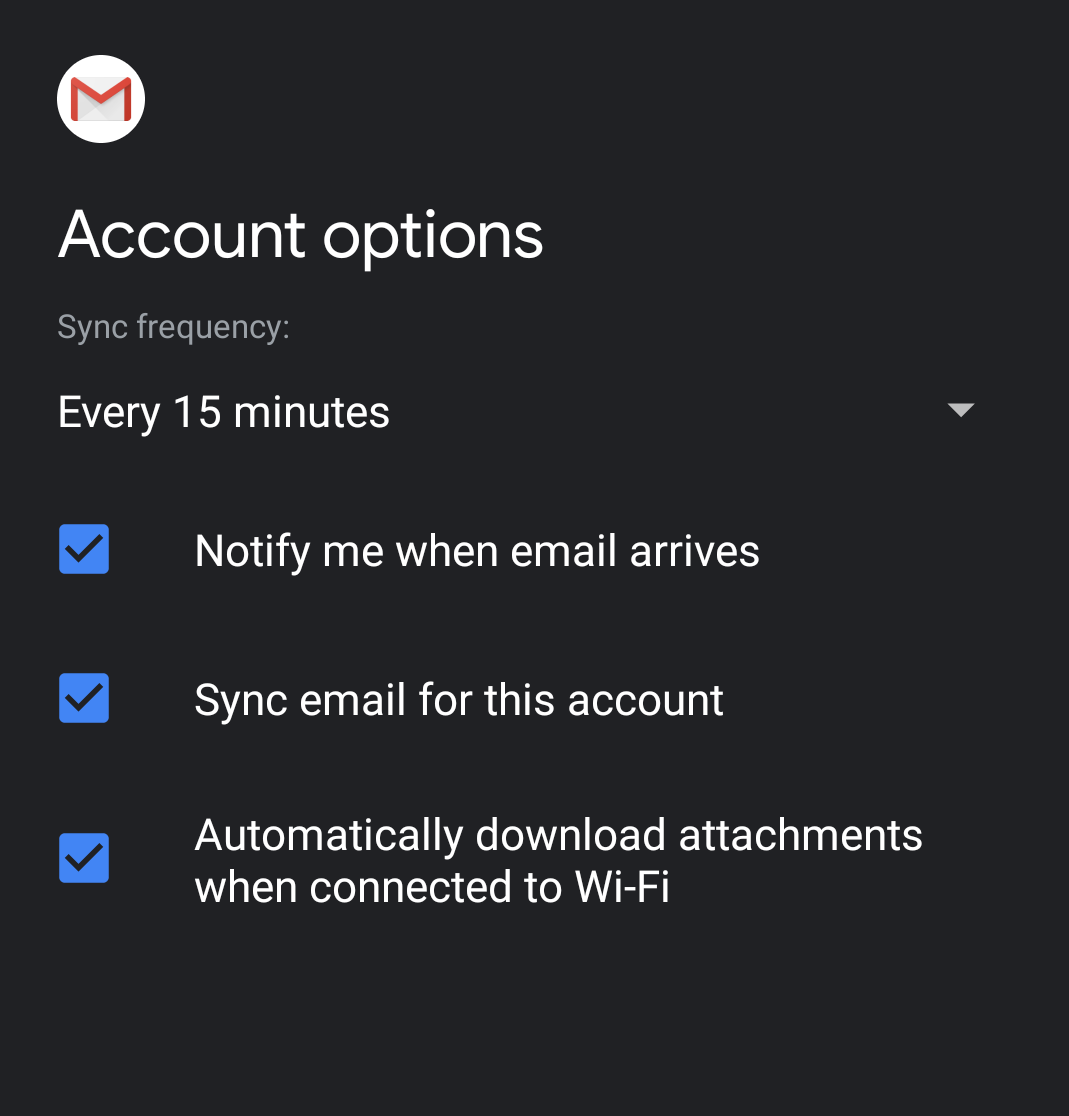
- Enter the following information in the Account options interface. you may set your sync frequency and email notifications.
- Select how often your email syncs to the server from from the Sync frequency menu options.
- To get notifications when email arrives, check the Notify me when email arrives checkbox.
- To automatically sync email for this account, check the Sync email for this account checkbox.
- To automatically download attachments when connected to Wi-Fi, check the Automatically download attachments when connected to Wi-Fi checkbox.
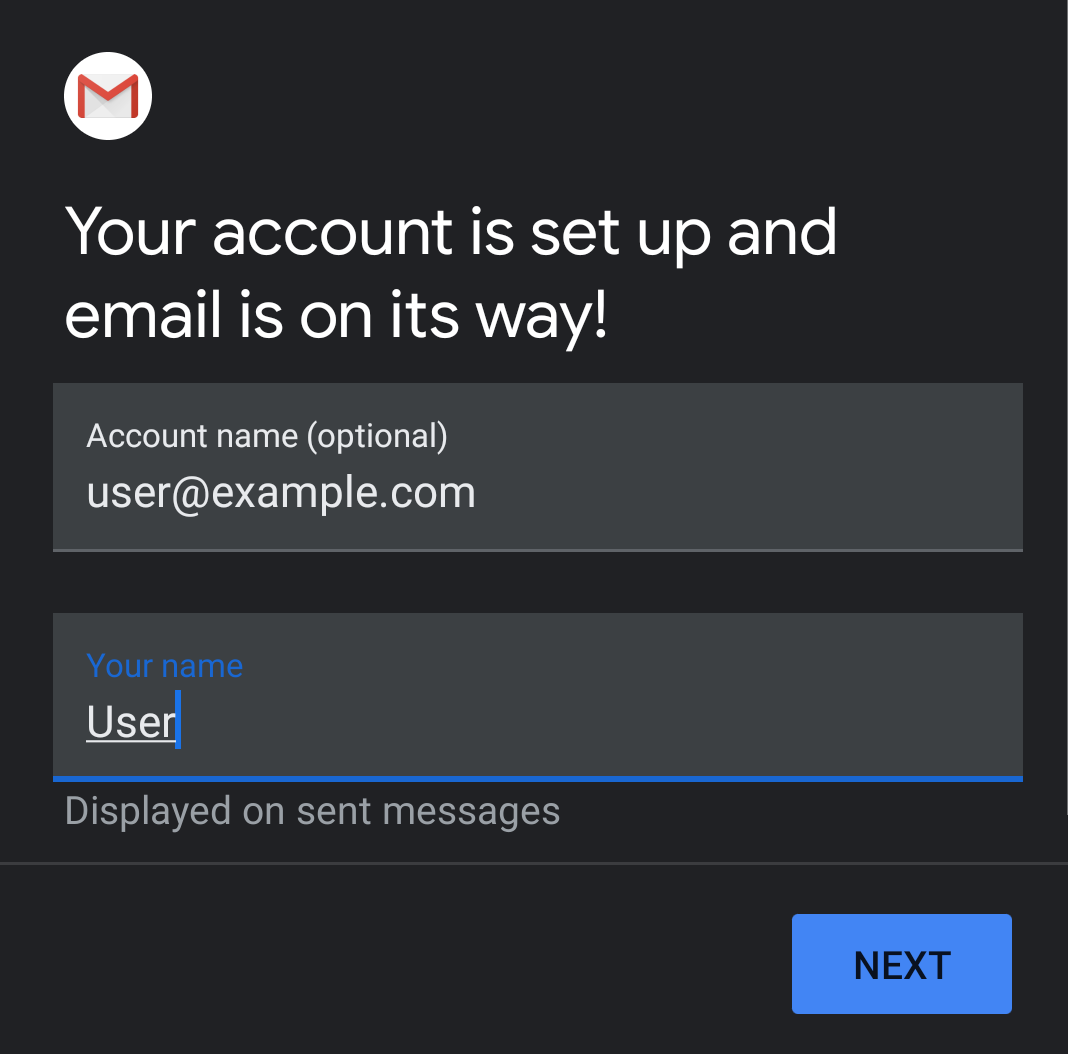
- Tap Next. The confirmation page will appear.
- Tap Next. Your mail client is now ready.